• Welcome to Overclockers Forums! Join us to reply in threads, receive reduced ads, and to customize your site experience!

How to set up a Matrix Raid array (with pictures)

Overclockers is supported by our readers. When you click a link to make a purchase, we may earn a commission. Learn More.

fritzman

Member
Joined
Aug 29, 2002
Numerous times in the main 'Matrix' thread, various members have asked for guidance on the various steps involved, or can't see any hard drives to install Windows on, etc.

I figured I would put something simple together, with pictures & screenshots, to take any pain out of the process.

I thought I’d mention this here… this demo is for XP-Pro. With all variants of XP, you need to load drivers during the Windows installation. With Vista, you do not as they are built in, so if you’re setting up a Matrix with Vista as the O/S… no need to hit F6 as the install starts.

Here we go…

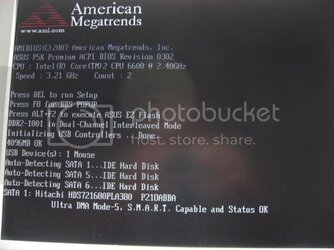
1. Make sure your BIOS detects all the hard disks you want to use.

IMG_3423.jpg

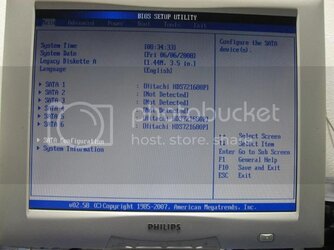
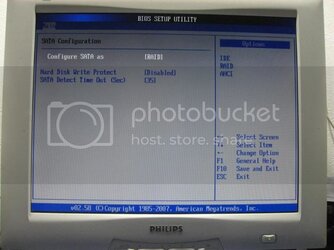
2. Now head into the BIOS. On the Asus P5K that I set this up on, the SATA Configuration is on the 1st page as you see here.

IMG_3427.jpg

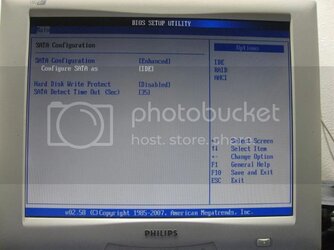
3. The default setting is generally IDE as you see here.

IMG_3429.jpg

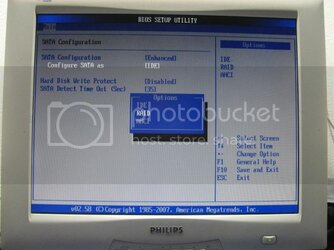
4. Use the arrows to move to SATA Configuration and hit Enter to expose the choices

IMG_3430.jpg

5. We want to select RAID, so arrow to there and hit Enter. It should end up looking like this.

IMG_3431.jpg

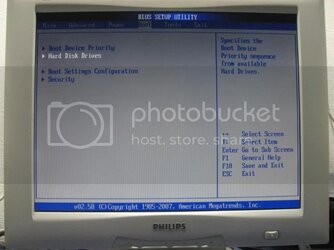
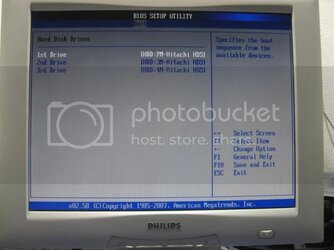
6. It’s really easy to be fooled into believing that this is all the BIOS work we have to do, but if we check the Hard Drives listing

IMG_3432.jpg

7. We see that the drives are still listed individually.

IMG_3433.jpg

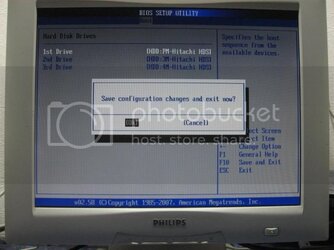
8. Now we want to save the changes we’ve made so far, so hit F10

IMG_3434.jpg

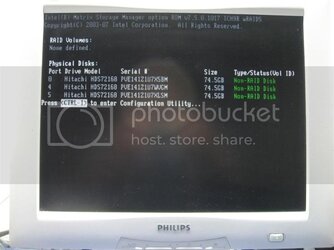
9. When the PC reboots, you will see an additional item pop-up on the way through the boot process… when it appears, be ready to hit Ctrl+I keys together.

IMG_3435.jpg

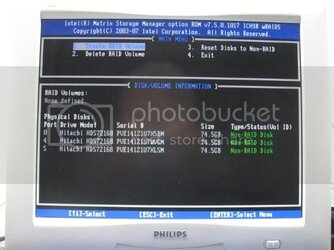
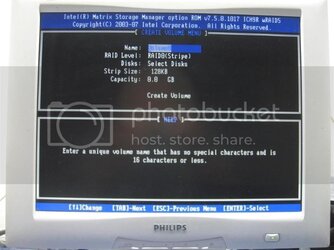
10. This is where we actually tell the Intel Matrix Manager what to do with the drives. Using the Enter key and the up/down arrows, we make our selections. First up, we create our first Raid Volume.

IMG_3436.jpg
 
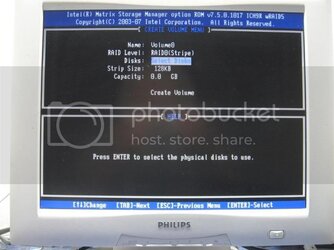
11. Hit the Enter key and give the first one (normally your Raid0 drive) a Name.

IMG_3437.jpg

12. Hit the Enter key again and we are ready to select the drives we want to use for this Volume.

IMG_3438.jpg

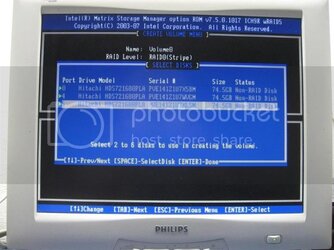
13. Hit Enter again, and we are taken to the Drive Selection screen, where we use the arrows and space-bar to select the ones we want involved.

IMG_3439.jpg

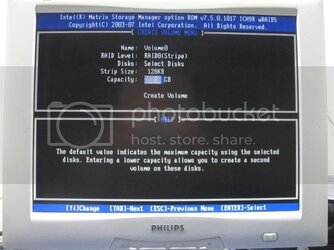
14. Having made our selections, hit the Escape key to return to the previous menu, where we will be deciding what size we want the Raid0 drive to be. By default, it shows all the available space for the drive configuration selected.

IMG_3440.jpg

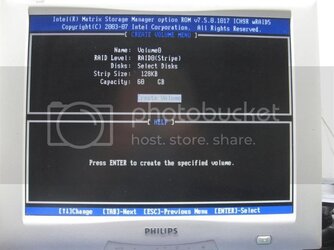
15. In this example, I chose 60Gb. Just type in the numbers you want and then hit enter. You end up ready to Create the Raid Volume.
IMG_3441.jpg

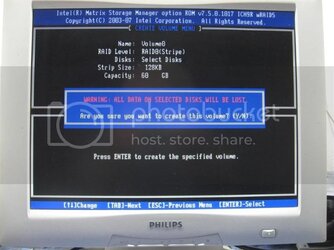
16. Hit Enter, and you get a nice little warning, that you are about to lose EVERYTHING that is one any of those disks… when you’re ready… hit the Y key.

IMG_3442.jpg

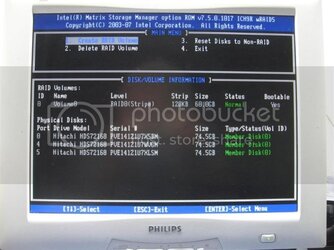
17. That takes you back to the beginning of the menu, where this time, we are going to set the remainder of the drives up as a Raid5 Array. At this point, we can clearly see our 60Gb Raid0 drive right in the center of the shot.

IMG_3443.jpg

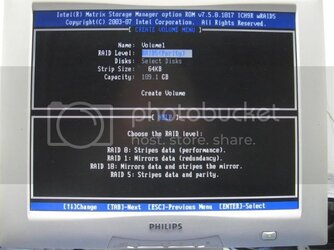
18. In my case, Raid10 isn’t an option that appears, as I only have 3 drives present, so arrow down to the Raid5 option and hit Enter.

IMG_3444.jpg

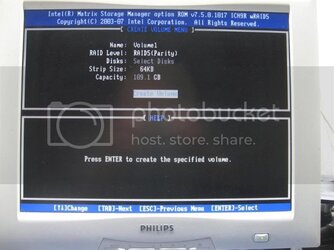
19. Work your way down to the Create the Raid Volume.
IMG_3445.jpg

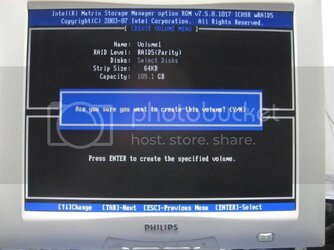
20. Hit Enter, and you get a nice little warning, that you are about to lose EVERYTHING that is one any of those disks… when you’re ready… hit the Y key.

IMG_3446.jpg
 
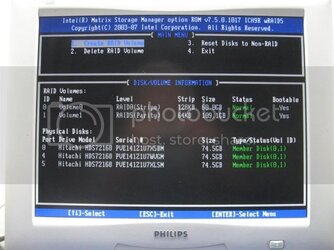
21. This time, we can see that our Raid0 drive has now been joined by the Raid5, so we’re ready to move on.

IMG_3447.jpg

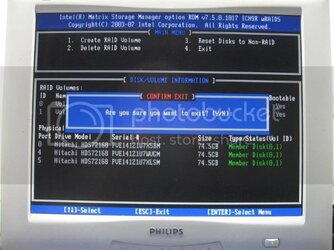
22. Hit the Escape key to exit, and the Y key o confirm.

IMG_3448.jpg

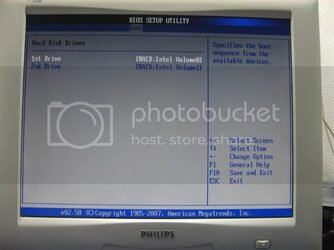
23. From memory, some boards I have had automatically reboot and take you straight into the BIOS. Others, you have to do this manually, but either way… that’s where we want to be. Having been here before… let’s go straight to the Hard Drives area. This visit, we can clearly see that the three individual drives that were there previously, have been replaced with our two arrays. Make sure your Raid0 drive is at the top.
IMG_3452.jpg

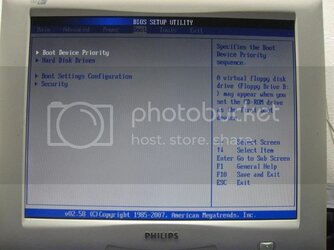
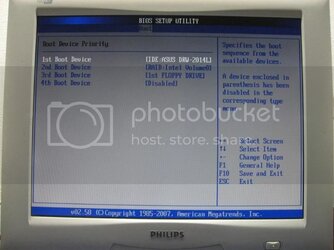
24. Now head for the boot priority section, and set it up how you want it.

IMG_3453.jpg

25. For this build, I am using XP-Pro, so will need the ICH9R drivers on a floppy disk.

Thanks to Kayson for this link to the (current) ICH10R drivers which are backwards compatible down to ICH7R... http://downloadcenter.intel.com/Det...&OSFullName=Windows* XP Professional&lang=eng

IMG_3454.jpg

26. Save and exit the BIOS like before, and with the XP CD in place, we should end up with a screen like this. Start tapping the F6 key. I normally do it 4 or 5 times while the option is displayed.

IMG_3455.jpg

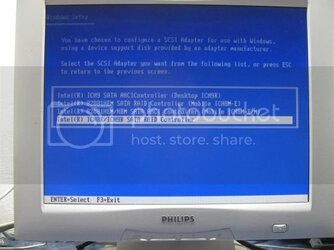
27. Nothing appears to happen immediately, but after some more files are loaded up, Windows looks for the floppy and you will end up here. Use the arrows to scroll down until you have the blue line sitting over the right driver. This is the one we want for this build.

IMG_3462.jpg

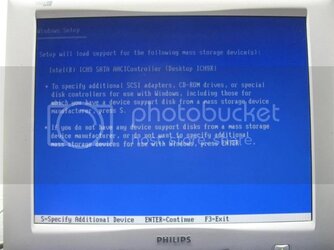
28. You’ll get a confirmation screen like this (only yours will have the right driver listed… it’s been a while since I had to rebuild one, and I grabbed the wrong driver first time round lol). Hit the Enter key to load the driver and continue.

IMG_3460.jpg

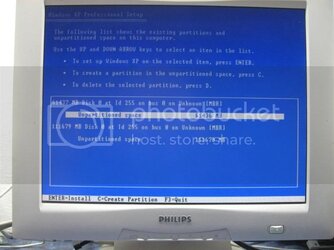
29. With a bit of good fortune, you’ll end up with some drives listed so you can tell Windows where it is going to reside. Use the arrows and select (it should already be there) the Raid0 Drive.

IMG_3463.jpg

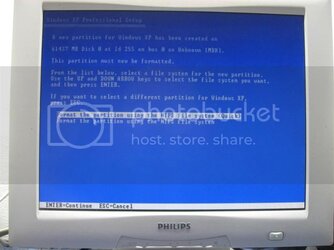
30. I always do a quick format, but choose what takes your fancy.

IMG_3464.jpg
 
Last edited:
31. Windows should carry on and finish nicely.

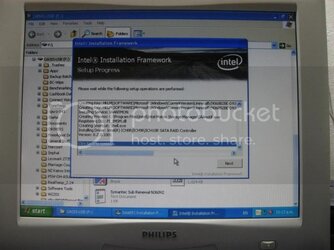
My personal preference is to install the Intel Chipset Driver first up, and very next thing, the Intel Matrix Manager software. For both, make sure you have the latest versions available. A little scouting around will soon find those on the Intel site.

IMG_3466.jpg

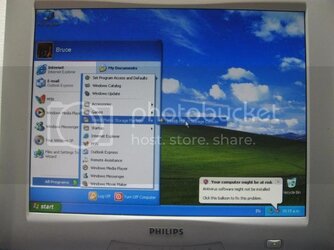
32. Once installed, open up the Intel Matrix Manager.

IMG_3467.jpg

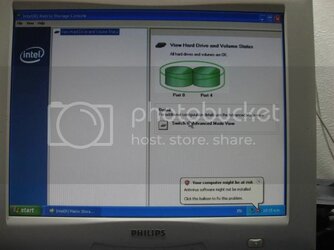
33. It will open up in the Basic view.

IMG_3468.jpg

34. Click on the little radio button in the middle of the screen where it says Switch to Advanced View.

IMG_3470.jpg

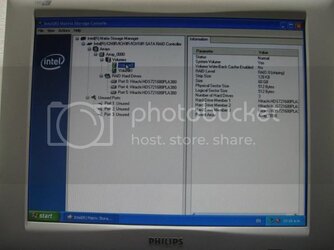
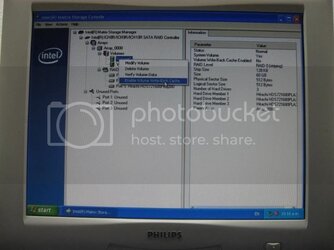
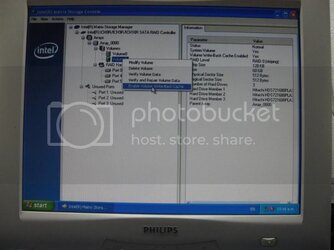
35. Here we Right-Click our drives and click on Enable Volume Write-Back Cache. (This gives the really high burst speeds you see in HD-Tach and HD-Tune) First the Raid0 drive.

IMG_3471.jpg

36. Then the Raid5 as well.

IMG_3472.jpg

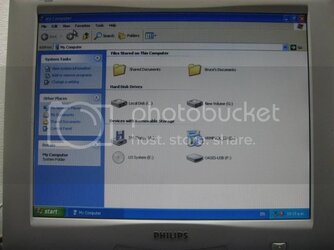
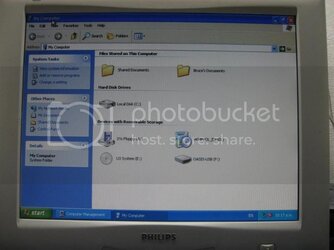
37. Almost finished, but if we check in My Computer… only the Raid0 drive is visible.

IMG_3474.jpg

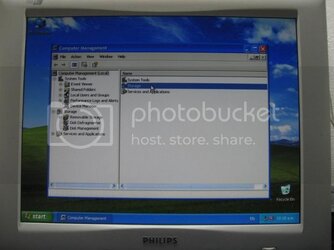
38. Right-click My Computer and select Manage.

IMG_3473.jpg

39. Double-Click Storage.

IMG_3475.jpg

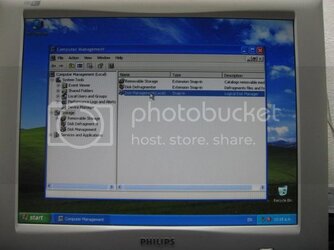
40. Double-Click Disk Management Local.

IMG_3476.jpg
 
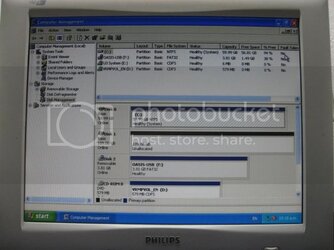
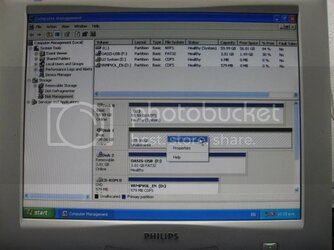
41. Here you can see that the Raid5 drive is showing up as Unallocated.

IMG_3477.jpg

42. Right-Click the Raid5 drive and select New Partition.

IMG_3478.jpg

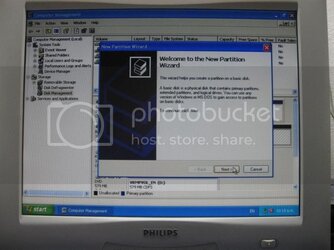
43. Follow the wizard through.

IMG_3479.jpg

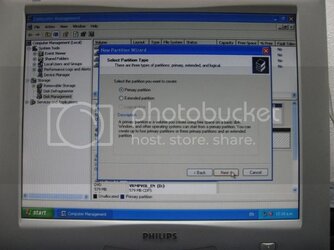
44. Select Primary Partition.

IMG_3480.jpg

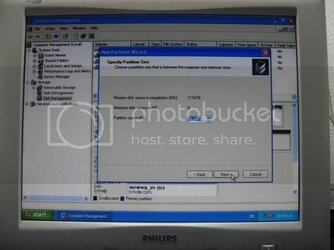
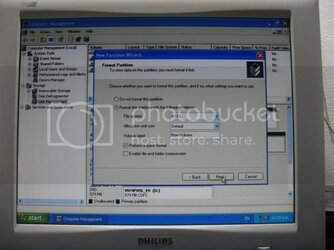
45. Unless you have some reason to do otherwise (I didn’t) let it take up all the available space.

IMG_3481.jpg

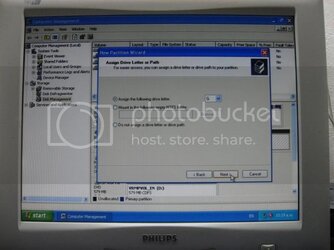
46. Give it a Drive Letter.

IMG_3482.jpg

47. Quick Format again.

IMG_3483.jpg

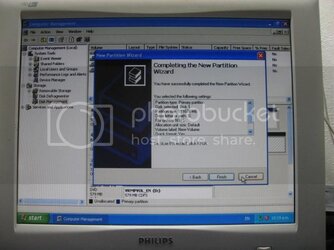
48. Click on Finish when it’s done.

IMG_3484.jpg

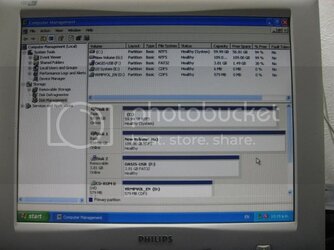
49. You can now see the drive properly set up in Disk Management.

IMG_3485.jpg

50. And also in My Computer.

IMG_3486.jpg

That’s it!

Enjoy.
 
:thup: Two Thumbs Up ! :thup:

Great job Fritzman !

Thanks Krag for sticking it up here ! ;)


PS:
Hope others with non AMI bios will follow up with this kind detail steps here, the more the merrier.
 
Wow... thanks for the walkthrough, this is really great. I've been considering either raiding some raptors or getting a matrix up and running... maybe both but I haven't decided yet if I'll be pursuing anything in my current financial state. This is definitely the place to come with questions though. :)
 
Well, worked like a charm fritz, almost. I could not for the life of me get the Vistax64 install to recognize my drives while in RAID mode. After about a 1/2 hour of screwing around I finally formatted with one disk and made a Vlite image Slipstreamed with the Intel x64 RAID drivers. That, worked like a charm. Nice 50GB RAID0 slice out of my 2-150GB Raptors, and RAID 1 on the remainder.
Thx.
 
It's not just for Intel MATRIX RAID. The same steps are used for any RAID setup in XP. Sticky this.
 
fantastic guide. Links to the intel software would be nice. It took me forever to find the utility to make an ich10r floppy disk
 
Well, worked like a charm fritz, almost. I could not for the life of me get the Vistax64 install to recognize my drives while in RAID mode. After about a 1/2 hour of screwing around I finally formatted with one disk and made a Vlite image Slipstreamed with the Intel x64 RAID drivers. That, worked like a charm. Nice 50GB RAID0 slice out of my 2-150GB Raptors, and RAID 1 on the remainder.
Thx.

That's really odd... every install of Vista I've done, (provided the drives have been formatted first) Vista has found the array and installed straight off the bat.

IIRC, I've sometimes seen it where drives being used have been part of an array previously and not set back to 'Non-Raid' that Vista will not see them, but hey... there will be a logical reason.

edit... I've put a link to the ICH9R drivers in point 25.

fantastic guide. Links to the intel software would be nice. It took me forever to find the utility to make an ich10r floppy disk

Drop me the links to the ICH10R ones (save me the hour) and I'll add them there also.
 
Last edited:
Back